Welcome! This comprehensive guide assists new sewing machine owners‚ offering detailed instructions and support for optimal product use.
It’s designed to navigate features easily‚ providing a resource for manuals like Singer‚ Pfaff‚ and Husqvarna in PDF format.
Read all instructions carefully before operating your household sewing machine‚ prioritizing safety and understanding its capabilities.
Understanding the Purpose of this Manual
This manual serves as your primary resource for understanding and operating your sewing machine effectively. It’s crafted to empower both novice and experienced users‚ ensuring a smooth and enjoyable sewing experience.
Within these pages‚ you’ll discover detailed instructions‚ safety guidelines‚ and troubleshooting tips‚ all designed to maximize your machine’s potential. We aim to demystify the process‚ offering clarity on everything from basic threading to advanced techniques.
Accessing PDF manuals for brands like Singer‚ Pfaff‚ and Husqvarna is simplified through this guide‚ providing a centralized hub for support. Understanding its purpose will unlock the full capabilities of your sewing machine‚ fostering creativity and precision in every project.
Safety Precautions
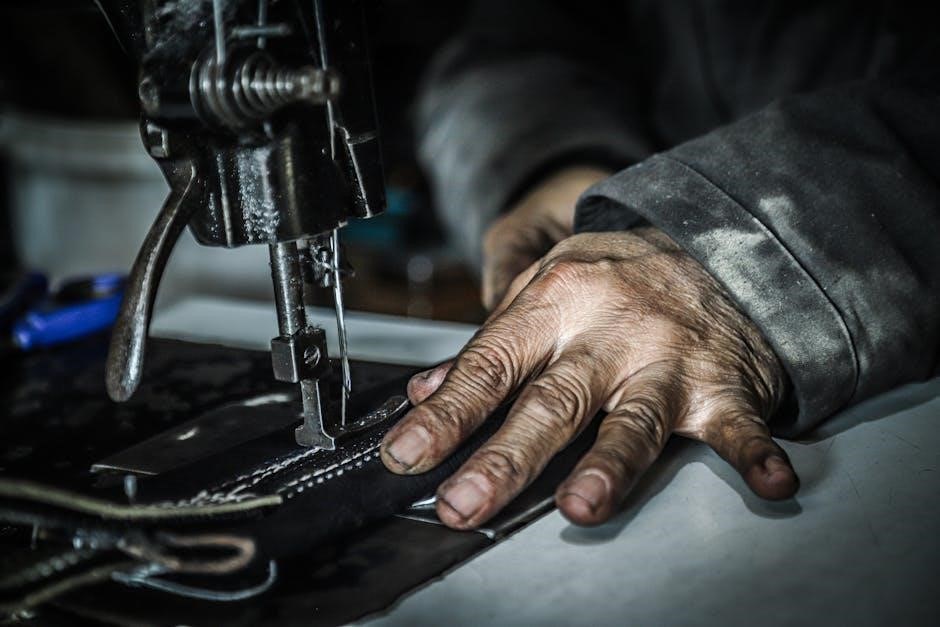
Prioritize safety! Before operating your sewing machine‚ carefully review these crucial precautions to minimize risk. Always unplug the machine from the electrical outlet when not in use‚ or during cleaning and maintenance.
Never operate the machine with a damaged cord or plug. Keep fingers away from moving parts‚ like the needle and presser foot‚ to prevent injury. Avoid using the machine if you are tired or distracted.
Ensure adequate lighting and a stable work surface. This manual emphasizes the importance of responsible operation. Refer to the instructions for detailed guidance. Remember‚ a safe sewing environment is a productive sewing environment. Ignoring these precautions could lead to electric shock or mechanical hazards.
Getting to Know Your Sewing Machine
Explore your machine! This section details key components‚ identifying essential parts for smooth operation and understanding its overall functionality.
Machine Components Overview
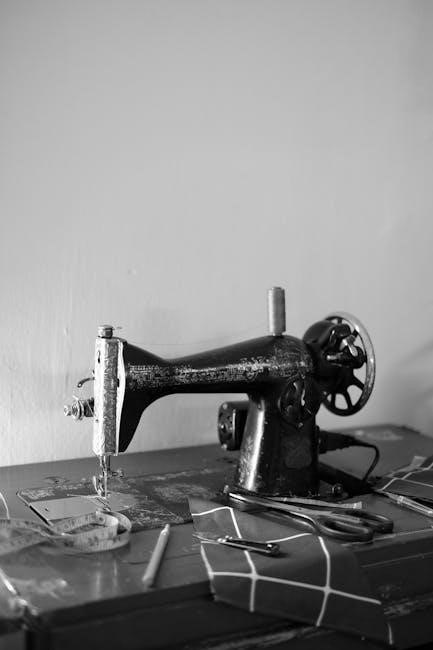
Understanding the anatomy of your sewing machine is crucial for effective operation and maintenance. Key components include the power switch‚ responsible for turning the machine on and off‚ and the handwheel‚ used for precise manual control of the needle.
The spool pin securely holds the thread spool‚ while the bobbin winder prepares the bobbin for use. The tension discs regulate thread tension‚ impacting stitch quality. The presser foot applies pressure to the fabric during sewing‚ and the feed dogs advance the material.
Don’t forget the needle clamp‚ securing the needle‚ and the stitch selector‚ allowing you to choose various stitch patterns. Familiarizing yourself with these parts‚ as outlined in your manual‚ will greatly enhance your sewing experience.
Identifying Key Parts
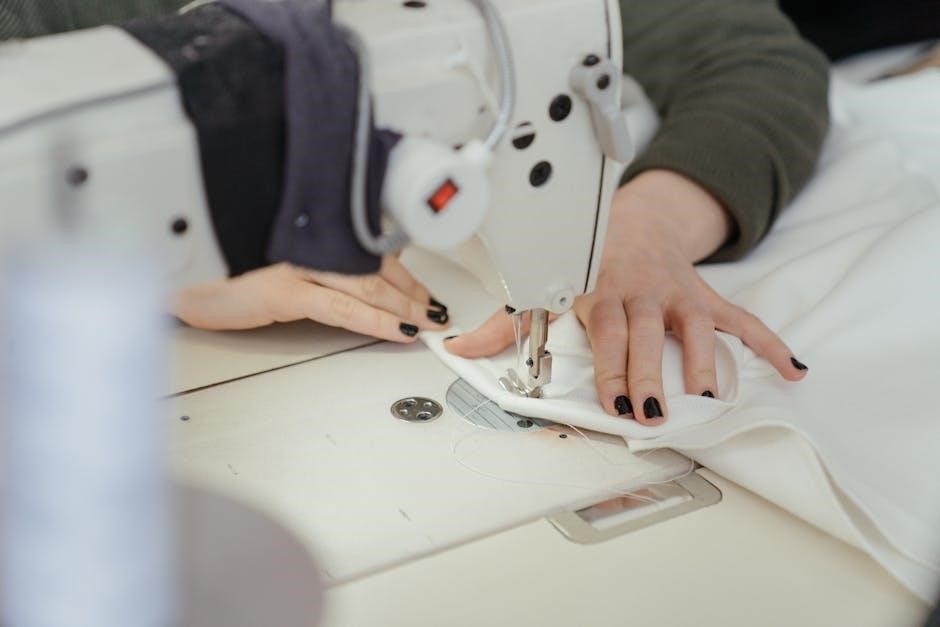
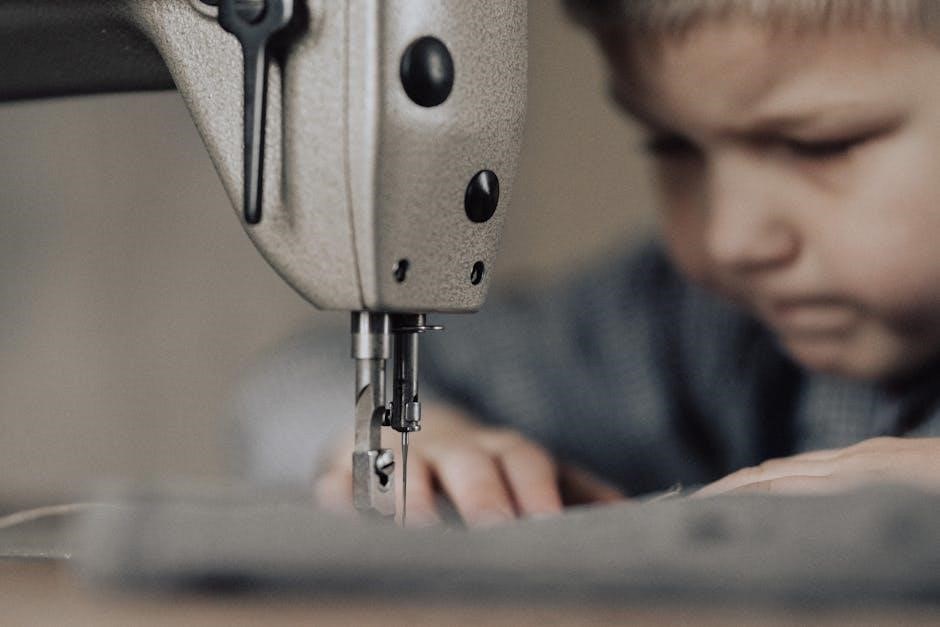
Locating essential parts is the first step to mastering your sewing machine. Begin with the needle‚ responsible for forming stitches‚ and the presser foot‚ which holds fabric in place. The feed dogs‚ beneath the presser foot‚ advance material smoothly.
Identify the bobbin case and bobbin‚ crucial for creating the lower stitch. The tension discs control thread flow‚ impacting stitch quality. The spool pin secures the thread spool‚ while the thread guides direct the thread path.
The handwheel allows manual needle control‚ and the stitch selector enables pattern choices. Refer to your manual for diagrams pinpointing each part; understanding these components is vital for successful sewing and maintenance.
Powering On and Off
Safe operation begins with understanding your machine’s power controls. Locate the power switch‚ typically found on the side or back of the machine. Before switching on‚ ensure the machine is properly plugged into a grounded outlet. Always unplug the machine before threading‚ changing the needle‚ or performing any maintenance.
To power on‚ simply flip the switch to the ‘on’ position. A light will illuminate‚ indicating the machine is ready. To power off‚ return the switch to the ‘off’ position.
Remember: Disconnecting the power cord is the safest way to prevent accidental operation during tasks. Refer to your manual for specific instructions related to your model.
Basic Sewing Machine Operations
Mastering fundamental techniques unlocks your machine’s potential! This section details essential steps like threading‚ bobbin winding‚ stitch selection‚ and adjustments.
Threading the Machine
Proper threading is crucial for consistent stitch formation. Begin by ensuring the machine is off and the presser foot is raised. Guide the thread from the spool‚ through the tension discs – ensuring it seats firmly – and then down to the take-up lever.
Next‚ thread the needle from front to back (consult your machine’s specific diagram). A needle threader can be incredibly helpful! Finally‚ draw a length of thread through the eye of the needle.
Incorrect threading causes skipped stitches or tension issues. Always refer to your machine’s manual for a visual guide‚ as threading paths vary between models like Singer‚ Pfaff‚ and Husqvarna. Double-check each step to guarantee a smooth sewing experience.
Winding the Bobbin
A correctly wound bobbin is essential for balanced stitching. First‚ place the spool of thread onto the spool pin. Then‚ guide the thread through the designated thread guides leading to the bobbin winder. Secure the thread end into the bobbin‚ ensuring it’s firmly in place.
Engage the bobbin winder mechanism – typically by pushing it to the right. Press the foot pedal gently to start winding. Most machines automatically stop when the bobbin is full.
Avoid overfilling the bobbin‚ as this can cause issues. Refer to your sewing machine’s manual (Singer‚ Pfaff‚ Husqvarna) for specific winding instructions‚ as procedures differ slightly between models. Consistent winding ensures even tension.
Inserting the Bobbin
Proper bobbin insertion is crucial for consistent stitch formation. Locate the bobbin case – it’s usually under a sliding plate on the machine. Open the bobbin case cover and carefully insert the wound bobbin. Ensure the thread unwinds in the correct direction‚ as indicated in your sewing machine’s manual.
Guide the thread through the tension spring and then through the slot or guide. Gently pull a few inches of thread out. Close the bobbin case cover securely.
Always consult your specific model’s instructions (Singer‚ Pfaff‚ Husqvarna) for detailed diagrams. Incorrect insertion can lead to skipped stitches or thread bunching. A properly seated bobbin is key to successful sewing.
Stitch Selection
Your sewing machine offers a variety of stitches for diverse projects. Locate the stitch selection dial or buttons – these control the stitch pattern. Refer to your manual for a comprehensive stitch guide‚ showcasing options like straight stitch‚ zigzag‚ and decorative patterns.
Turn the dial or press the buttons to choose your desired stitch. Many machines display a sample of the selected stitch. Understanding stitch applications – for example‚ zigzag for finishing raw edges – enhances project quality.
Instructions for specific stitches (Singer‚ Pfaff‚ Husqvarna) are detailed in your manual. Experiment with different stitches to discover their unique capabilities and achieve professional results.
Adjusting Stitch Length and Width
Precise stitch control is crucial for quality sewing. Locate the stitch length and width dials or buttons on your machine. The manual provides specific guidance for your model (Singer‚ Pfaff‚ Husqvarna). Stitch length determines the distance between stitches; shorter for delicate fabrics‚ longer for heavier materials.
Adjust the stitch width to control the zigzag’s breadth. Wider settings are ideal for reinforcing seams or creating decorative effects. Always test stitch settings on scrap fabric before sewing your project.
Refer to your instruction manual for recommended settings based on fabric type and desired outcome. Proper adjustment ensures strong‚ even stitches.
Advanced Sewing Techniques
Expand your skills! Explore zigzag applications‚ buttonholes‚ zipper insertion‚ and darning—techniques detailed in your sewing machine manual for expert results.
Zigzag Stitch Applications
Unlocking Versatility: The zigzag stitch is a powerhouse beyond basic seams! Your sewing machine manual details its diverse applications‚ offering creative possibilities for all skill levels.
Utilize it for finishing raw edges‚ preventing fabric fraying and creating a professional finish. It’s ideal for stretch fabrics‚ allowing the seam to move with the material without breaking. Decorative zigzag patterns add unique embellishments to projects‚ enhancing their aesthetic appeal.
Furthermore‚ the zigzag stitch excels in appliqué‚ securing fabric shapes onto a base cloth. It’s also invaluable for creating buttonholes‚ providing a clean and durable opening. Mastering zigzag variations‚ as outlined in your manual‚ unlocks a world of sewing potential‚ transforming simple projects into stunning creations.
Buttonhole Sewing
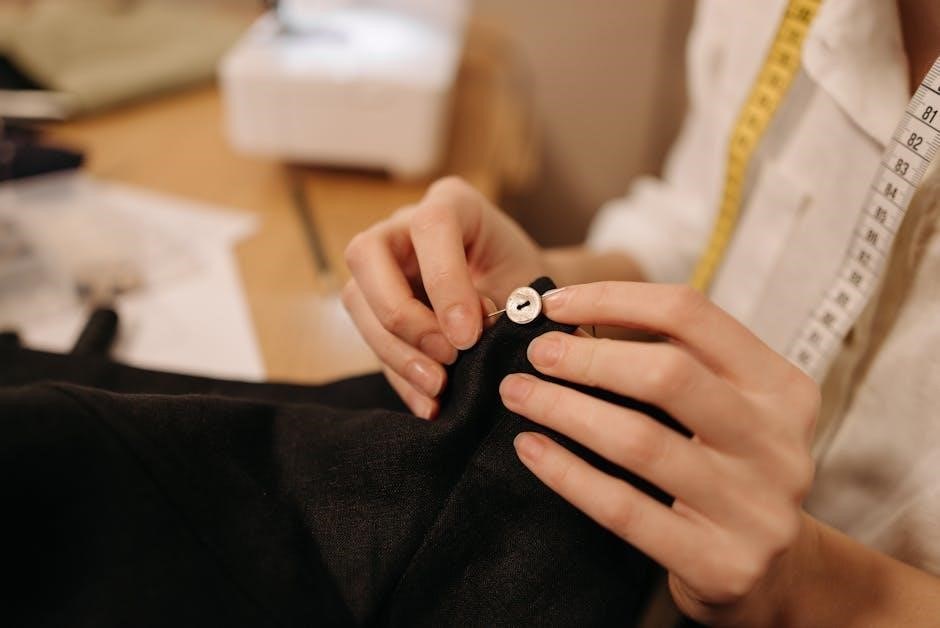
Precision and Professionalism: Your sewing machine manual provides step-by-step guidance for creating perfectly sized buttonholes‚ enhancing the quality of your garments and projects. This feature often utilizes a specialized zigzag setting‚ automatically adjusting stitch width and length.
Begin by selecting the appropriate buttonhole foot for your machine. Carefully follow the markings on the needle plate‚ aligning the fabric correctly. The manual will detail how to adjust the buttonhole length to match your button size‚ ensuring a snug and secure fit.
Practice on scrap fabric first to refine your technique. A well-executed buttonhole adds a polished‚ professional touch‚ elevating your sewing endeavors. Refer to your manual for specific instructions tailored to your machine model.
Zipper Insertion
Mastering a Key Skill: Your sewing machine manual details various zipper insertion techniques‚ from standard to invisible zippers‚ enabling you to add professional closures to your projects. Utilizing the correct presser foot – often a zipper foot – is crucial for achieving accurate and neat results.
Begin by pinning the zipper tape to the fabric‚ ensuring it’s aligned correctly. The manual will guide you through selecting the appropriate stitch length and width for secure attachment. Practice on scrap fabric to build confidence and refine your technique.
Pay close attention to maintaining consistent seam allowances. A properly inserted zipper enhances both the functionality and aesthetic appeal of your creations. Consult your manual for model-specific guidance.
Darning and Mending
Extending Garment Life: Your sewing machine manual provides techniques for darning and mending‚ allowing you to repair damaged fabrics and prolong the life of your clothing. Utilize a darning plate (if available) to support the fabric and create a stable base for repair.
Select a zigzag stitch with adjusted length and width settings‚ as detailed in your manual‚ to mimic the weave of the fabric. Slowly maneuver the fabric under the needle‚ building up layers of thread to cover holes or tears.
For smaller repairs‚ a straight stitch can be effective. Remember to secure the beginning and end of your stitching with backstitching. Mastering these skills saves money and promotes sustainable fashion practices.
Troubleshooting Common Issues
Resolve problems quickly! This section of your sewing machine manual addresses frequent issues like thread breakage‚ skipped stitches‚ and machine malfunctions.
Find solutions for a smooth sewing experience.
Machine is Not Sewing
If your machine fails to sew‚ several factors could be at play. First‚ ensure the power is securely connected and the machine is switched on. Double-check that the presser foot is lowered‚ as most machines won’t operate without this engaged.
Verify correct threading – both the upper thread and the bobbin must be properly seated and tensioned. A poorly threaded machine is a common culprit. Inspect the needle; is it correctly inserted‚ undamaged‚ and the appropriate type for your fabric?
Also‚ confirm the bobbin is wound correctly and inserted with the correct orientation. Finally‚ check the stitch length setting; a zero setting will prevent stitching. Refer to your sewing machine manual for diagrams and detailed troubleshooting steps.
Thread Breakage Problems
Frequent thread breakage is a frustrating issue‚ but often easily resolved. Begin by re-threading the entire machine‚ ensuring the thread path is clear and smooth. Incorrect threading is a primary cause. Check the needle – a bent‚ dull‚ or incorrect needle size for your fabric can lead to breaks.
Adjust the thread tension; too much tension strains the thread. Ensure you’re using quality thread appropriate for your machine and fabric type. Inspect the bobbin; a poorly wound or incorrectly inserted bobbin can cause issues.
Finally‚ slow down your sewing speed. Excessive speed can stress the thread. Consult your sewing machine manual for specific guidance on tension adjustments and needle selection.
Skipped Stitches
Skipped stitches indicate a problem with the loop formation process. First‚ verify the needle is correctly inserted – it must be fully pushed up into the needle clamp. A bent or damaged needle is a common culprit; replace it immediately. Ensure you’re using the correct needle type and size for your fabric weight.
Re-thread both the upper thread and the bobbin‚ confirming proper threading paths. Adjust the presser foot pressure; insufficient pressure can cause fabric slippage. Check the timing of your machine – this may require professional servicing.
Consult your sewing machine manual for specific troubleshooting steps related to skipped stitches and proper needle/thread combinations.
Needle Breakage
Frequent needle breakage signals a significant issue requiring immediate attention. Always ensure you’re using the correct needle type and size for the fabric you’re sewing; attempting to sew through thick materials with a fine needle is a common cause. Verify the needle is fully and correctly inserted into the needle clamp.
Avoid pulling or pushing the fabric while sewing‚ as this puts undue stress on the needle. Check for bent or damaged needle plates‚ which can deflect the needle. Ensure the presser foot is correctly installed and applying even pressure.
Refer to your sewing machine manual for guidance on appropriate needle selection and proper sewing techniques to prevent breakage.
Maintenance and Care
Regular upkeep ensures longevity! Cleaning‚ oiling‚ and check-ups are vital for smooth operation. Refer to your manual for specific instructions.
Cleaning Your Sewing Machine
Maintaining a clean sewing machine is crucial for optimal performance and longevity. Before any cleaning‚ always unplug the machine from the power source to prevent electrical shock – a vital safety precaution. Use a soft brush or lint remover to gently clear away dust and fabric scraps from the bobbin area‚ feed dogs‚ and around the needle plate.
For more thorough cleaning‚ a small amount of sewing machine oil can be applied to these areas‚ followed by wiping with a clean‚ dry cloth. Avoid using water or harsh chemicals‚ as these can damage internal components. Regularly cleaning the machine prevents lint buildup‚ which can cause jams and affect stitch quality. Remember to consult your specific machine’s manual for detailed instructions and recommended cleaning schedules.
Oiling and Lubrication
Proper oiling and lubrication are essential for smooth sewing machine operation and preventing wear and tear. Always refer to your machine’s manual for specific oiling points and recommended lubricants – using the wrong type can cause damage. Typically‚ key areas needing lubrication include the bobbin case‚ hook assembly‚ and any moving parts identified in the instructions.
Apply sewing machine oil sparingly‚ using an oiler or a small brush to target specific areas. Avoid over-oiling‚ as excess oil can attract dust and lint. After oiling‚ run the machine briefly to distribute the lubricant. Regular lubrication‚ as outlined in your manual‚ ensures consistent performance and extends the life of your sewing machine.
Belt Replacement
A broken or worn belt prevents your sewing machine from functioning correctly. Replacement requires careful attention to detail‚ and consulting your machine’s manual is crucial. Begin by disconnecting the power supply. Access the belt‚ usually located at the back or base of the machine‚ often behind a cover plate.
Note the belt’s routing before removal – a photograph can be helpful! Carefully remove the old belt and install the new one‚ ensuring it’s properly seated in the motor pulley and handwheel grooves. Verify the belt tension is correct; it should have slight give but not be excessively loose. Reattach the cover plate and test the machine. Always refer to the instructions for your specific model.
Regular Check-ups
Proactive maintenance extends your sewing machine’s lifespan and ensures consistent performance. Schedule regular check-ups – ideally every six months with frequent use. Inspect the machine for loose screws‚ worn belts‚ and any signs of damage. Test stitch quality across various settings‚ noting any inconsistencies.
Clean lint buildup from the bobbin area and feed dogs. Lubricate moving parts as outlined in your manual‚ using sewing machine oil specifically. A professional servicing annually is recommended for thorough cleaning‚ adjustment‚ and potential part replacement. Consistent check-ups prevent minor issues from escalating into costly repairs‚ keeping your machine running smoothly.

Understanding Stitch Types
Explore diverse stitch options! From basic straight and zigzag stitches to decorative patterns‚ mastering stitch selection unlocks creative sewing possibilities for all projects.
Straight Stitch Details
The foundational stitch! The straight stitch is your go-to for constructing garments‚ quilting‚ and general sewing tasks. It’s formed by the needle penetrating the fabric and looping with the bobbin thread‚ creating a secure seam.
Adjusting the stitch length is crucial; shorter lengths (around 2.5mm) are ideal for delicate fabrics‚ while longer lengths (3-4mm) suit heavier materials. Consistent tension is key for a balanced stitch – uneven tension results in puckering or loose seams.
Practice on scrap fabric to find the optimal settings for your machine and fabric combination. Remember to guide the fabric gently; forcing it can cause skipped stitches or needle breakage. Mastering the straight stitch is the first step towards confident sewing!
Zigzag Stitch Variations
Beyond the basics! The zigzag stitch isn’t just for finishing raw edges. Varying the stitch width and length unlocks a world of possibilities. A narrow zigzag (width 1-2mm) is perfect for reinforcing seams and preventing fabric fraying.
Wider zigzags (3-5mm) create decorative effects and are essential for stretch fabrics‚ allowing the seam to stretch with the material. Experiment with different stitch lengths – shorter lengths for tighter zigzags‚ longer for more open ones.
Some machines offer variations like triple zigzag for extra strength or decorative zigzag patterns. Practice on scraps to explore the creative potential of this versatile stitch!
Decorative Stitch Guide
Unleash your creativity! Modern sewing machines boast a range of decorative stitches beyond basic functionality. These stitches add embellishment and personality to projects‚ from simple accents to intricate designs.
Explore shell stitches for edging‚ blanket stitches for applique‚ and various floral or geometric patterns. Refer to your machine’s stitch chart to understand each stitch’s unique characteristics and recommended uses.
Stabilizers are often necessary when using decorative stitches‚ especially on delicate fabrics‚ to prevent puckering. Experiment with different thread colors and weights to enhance the visual impact. Have fun and personalize your creations!
Resources and Support
Need help? Find Singer‚ Pfaff‚ and Husqvarna manuals online in PDF format. Explore support forums and locate parts/accessories easily!
Finding Additional Manuals (Singer‚ Pfaff‚ Husqvarna)
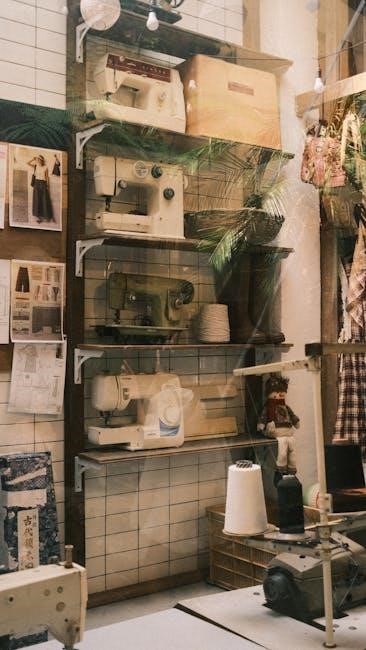
Locating your specific sewing machine manual is now easier than ever! Numerous online resources offer free PDF downloads for a wide range of brands‚ including the popular Singer‚ Pfaff‚ and Husqvarna. These digital manuals provide detailed instructions‚ troubleshooting guides‚ and parts lists to help you maintain and operate your machine effectively.
Many websites specialize in archiving vintage and current sewing machine manuals‚ offering a valuable resource for owners of older models. Simply search online using your machine’s brand and model number to quickly find the appropriate documentation. Remember to verify the source’s reliability to ensure you’re downloading a genuine and accurate manual. Accessing these resources empowers you to confidently tackle any sewing project!
Online Support Forums
Need help with your sewing machine? Online support forums are vibrant communities where sewing machine enthusiasts share knowledge‚ troubleshoot issues‚ and offer advice. These forums provide a platform to connect with experienced users and experts who can assist you with any questions or challenges you may encounter.
From basic operation to advanced techniques‚ you’ll find discussions covering a wide range of topics. Search existing threads or post your own question to receive personalized guidance. Many forums also feature dedicated sections for specific brands like Singer‚ Pfaff‚ and Husqvarna‚ ensuring you receive relevant support. These communities are invaluable resources for sewing machine owners!
Parts and Accessories
Enhance your sewing experience with the right parts and accessories! Maintaining your sewing machine often requires replacement parts‚ such as needles‚ bobbins‚ belts‚ and presser feet. Accessing these components is crucial for continued functionality and optimal performance.
Fortunately‚ numerous online retailers and local sewing machine shops offer a wide selection of genuine and compatible parts. You can find manuals and resources to identify the correct parts for your specific model – Singer‚ Pfaff‚ Husqvarna‚ and others. Explore accessories like specialized presser feet to unlock new sewing capabilities and expand your creative possibilities.